Two years ago, while exploring the
Viroqua Co-op's amazing book section, we stumbled upon a gem: Sandor Ellix Katz's
Wild Fermentation. Since then, both Andy and I have read it cover to cover, enjoying the exciting philosophical food discussions and the innovative and classic fermentation recipes.
Among the sauerkraut, pickles, and kimchi recipes is the classic yogurt recipe. We experimented with the book's directions, but over time, have come to develop our own methods to achieving super creamy, fabulously delicious, and perfectly smooth homemade yogurt.
So what is yogurt anyway?
Yogurt is milk or cream that has been fermented with a good, live bacteria at a consistently warm temperature. Yogurt is a nourishing food with many health benefits: it provides calcium which makes bones stronger, prevents both yeast infections and urinary tract infections, and it provides the body with vitamin B2, which can be somewhat difficult for vegetarians to obtain.
And why make your own yogurt?
Well, for one, making anything by yourself makes you more self-sufficient and is more sustainable. And two, by making your own yogurt, you're able to control how much fat the yogurt contains and you're able to support local dairy farms by purchasing their milk or cream. We use
Blue Marble Farm's Milk (Barneveld, WI) or
Sassy Cow Creamery's Milk (Columbus, WI). Depending on our mood and for what we will use our yogurt, we use 2%, whole milk, or sometimes a combination of the two.
Homemade Yogurt
Ingredients:
1 quart of milk
1 Tbs. of yogurt starter (take a Tbs of your favorite plain yogurt: be sure it contains live cultures)
1. Heat a quart of milk in a heavy pot until it starts to foam, but not boil (180 degrees F). Use gentle heat, and stir frequently to avoid burning the milk.
2. Remove from heat. Cool to 110 degrees F.
3. Mix in starter yogurt.
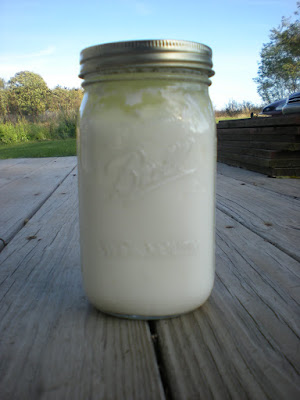
4. Pour into sterilized jar(s), and cap it/them.
5. Place jars in an insulated container, filled with water. We like to use an old fish aquarium with insulation wrapped around the outside. To heat our tank, we use hot water and a submersible heater. Other people we know use a cooler. No matter what you use, the water must be consistently around 100 degrees.
6. Check yogurt after 8 to 12 hours. It should have a tangy flavor and some thickness.
7. Refrigerate when done.

Heating up the milk.

Cooling it off.

Yogurt Starter

Our insulated contraption.

Keeping them consistently warm.
1/3 cup Nature's Bakery Peanut Butter Granola (or granola of your choice!)
1/4 cup of yogurt
1/2 cup of plain, unsweetened hemp milk
seasonal, fresh fruit (or frozen and thawed in the winter!)
Mix yogurt and hemp milk until the consistency is completely smooth. Add the granola. Chop in the fresh fruit, and voila ~ the best breakfast around!


