Pin It

Showing posts with label cabbage. Show all posts

Monday, October 31, 2011

My friend Deb and her wonderful Cabbage Soup

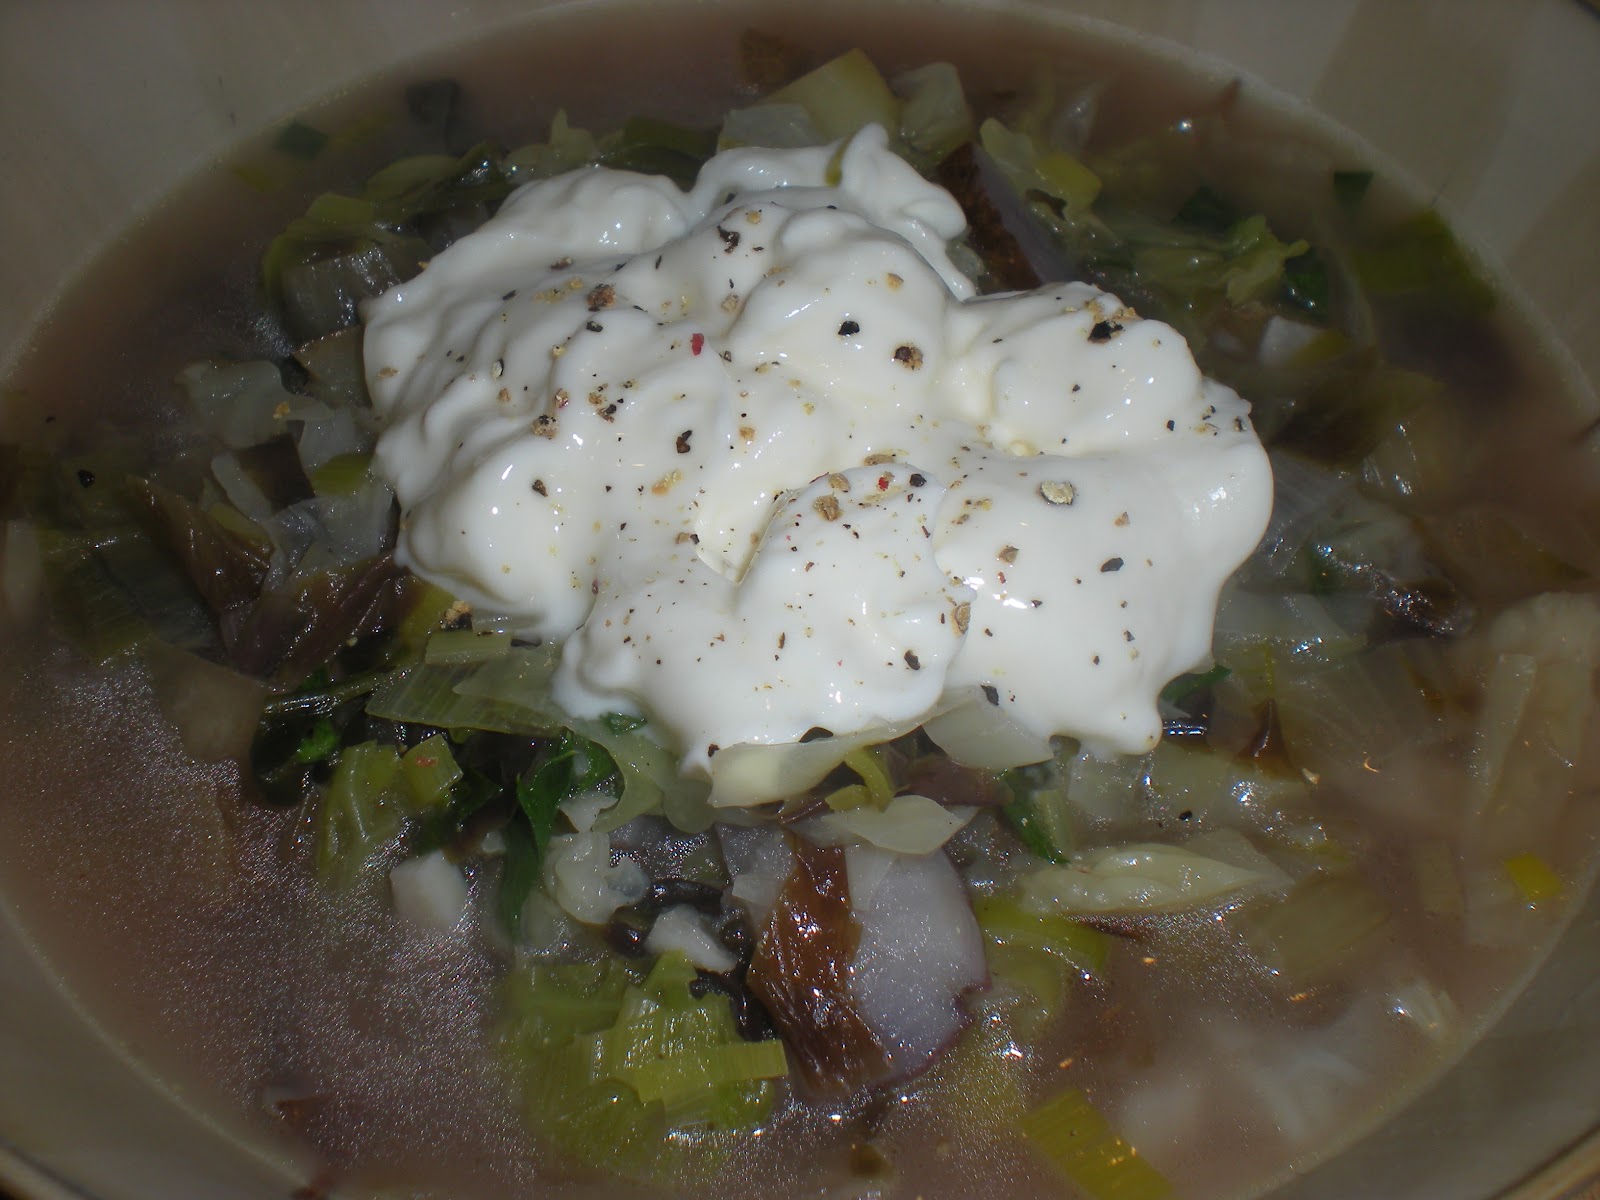
With a generous dollop of sour cream and freshly ground pepper!
Deborah Madison is the bomb, or rather, the bombess (?). Seriously, if you don't have Vegetable Soups from Deborah Madison's Kitchen, please buy it. We swear that just as we navigate towards deep reds at the liquor store, you'll no doubt find your fingers reaching for this cookbook whenever you're in the mood for a comforting bowl of soup or you need to use a bunch of a veggies up in one cooking adventure. Just take a look at the series of posts we put up last harvest season. Deborah Madison came up more than once then, and we're sure she'll come up more than once this year.

Tonight, we quickly whipped up a double batch of her Green Cabbage Soup with potatoes and sour cream. As always, we didn't quite have the right ingredients in the fridge, so we made our adaptations with what we found at home, plus garlic, of course. Here's our doubled version of  Deborah's (yes, at this point, I feel like we're on a first-name basis!) creation:

Ingredients:
1 small green cabbage, preferably Savoy
4 Tbs. of butter
1 bunch of mustard greens, boiled before added to the mix (our addition)
3 large leeks
6 potatoes, with skins
sea salt and freshly ground pepper
1 head of garlic, minced (our addition)
sour cream or yogurt
tops of celeriac (though Deb uses parsley or dill)

Directions:
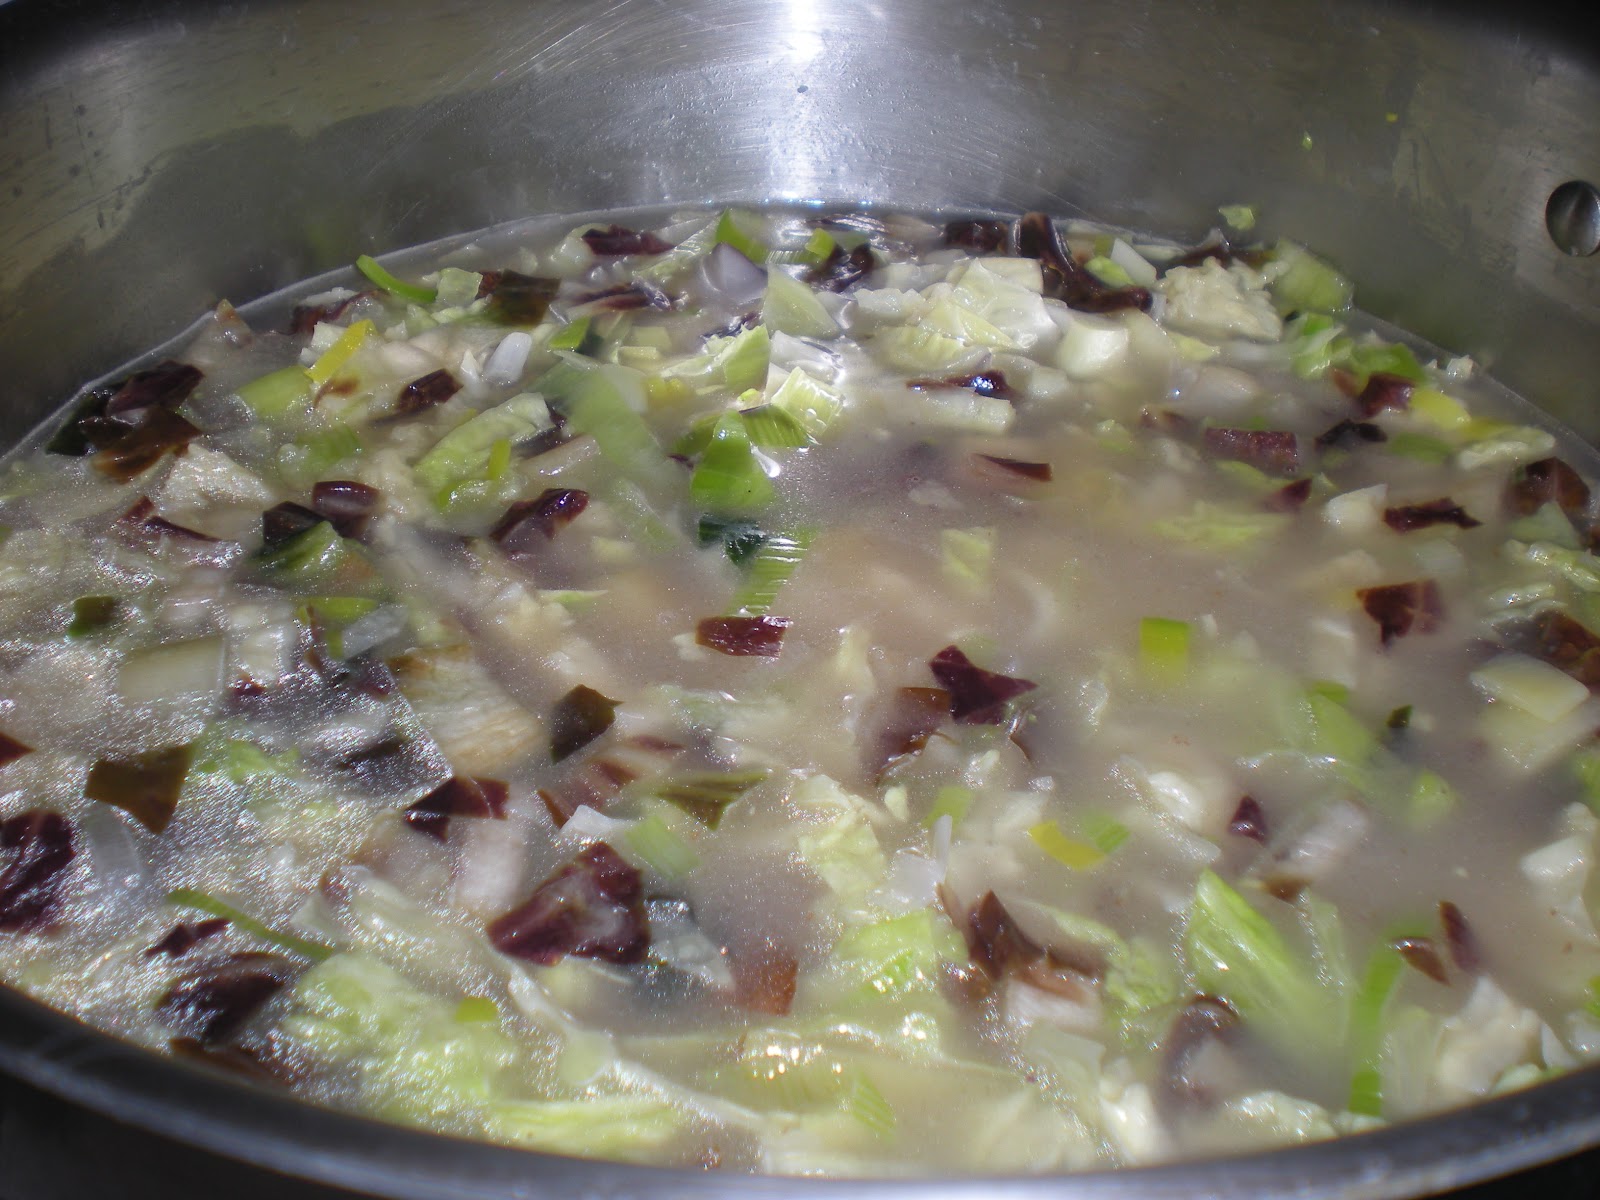
1. Thinly slice the cabbage and mustard greens. Boil a pot of water, add the cabbage and greens, cook for a minute, and then drain.
2. Melt the butter in a soup pot (Debbie had 2-3 Tbs. for a single batch, but we wanted to cut out fat). Add the leek and potato, cook for a minute or two, and then add the cabbage and greens and salt. Pour 10 cups of water over the top.  Bring to a boil, then lower the heat and simmer, covered, for 20 minutes or until the potatoes are tender. Taste for salt and pepper.
3. Ladle the soup into bowls, then add a dollop of sour cream or yogurt, a sprinkling of your herb of choice, and a final grinding of ground pepper.

Get a nice beverage, and have a toast to Ms. Madison for her wonderful soups, and a toast to yourself for a job well done! Enjoy.

Per 1 Cup Servings: 103 calories; Total Fat, 3.5 g; Saturated Fat, 1.7 g; Cholesterol, 9 mg; Sodium, 258 mg; Carbohydrate, 17.6 g; Dietary Fiber, 2.5 g; Sugars, 1.6 g; Protein, 2.6 g

Sunday, August 14, 2011

Wild Fermentation: Sauerkraut and Sour Pickles

As of August 8th, five quarts of sauerkraut have been residing in our fridge.That makes us so happy! Did you know that members of the Brassicaceae family like cabbage, brussel sprouts, and kale are cancer-fighting? Further, a study in Finland found that fermented cabbage may be even better at warding off cancer. We decided against process-canning the sauerkraut because in processing, many of the beneficial live bacteria are killed, and we're planning to regularly eat sauerkraut for pleasure and for health benefits, so the jars won't have to time to go bad.

While we wait for the next round of cabbage to be ready, we're utilizing the crock to make sour pickles. Just like I mentioned that I had nostalgia when it comes to sauerkraut, we've found pickles create that feeling in many people we know. When we mentioned that we had a crock, Andy's dad recalled that as a child he often ate crispy pickles straight from the crock. He explained that the cucumbers were placed with grape leaves whose tannins held the crispiness. Shortly after that conversation, I told my parents what Andy's parents had said. My dad's face lit up, and he said he had the same pickle experience growing up on the family farm with his parents. So, we decided to consult one of the Backyard Market Bibles ~ our copy of Wild Fermentation. Sure enough, in both the book and on the website, we found explicit directions for "Sour Pickles."

Check out the Wild Fermentation book or website for the specifics or here are our easy directions:
 Ingredients:
3-4 heads of garlic
2 or more hot peppers
handful of grape leaves
pinch of peppercorns
3 to 4 flowering heads of dill
3-4 pounds of small- to medium-sized cucumbers
1/2 gallon of water
6 Tbs of salt

Equipment:
crock
plate
weight (we used a gallon of vinegar as a weight)
towel

1. The bottom of the crock will contain all of the grape leaves, garlic, peppercorns, pepper, and dill. So, put desired amount of each in.

2. Then, add cucumbers.

3. Mix salt and water together, making sure the salt dissolves. Pour onto the cucumber mixture.
4. Make sure the brine covers the cucumbers. If not, add more. General rule of thumb is 1 Tbs. of salt per cup of water.
5. Place the plate on top of the pickles. Put the weight on top of the plate. Cover with a towel.
6. Check daily. Depending on temperature, pickles are ready in 1-4 weeks. We started tasting ours when the color faded. We've been enjoying them ever since.

Today, we noticed our brine has started going cloudy. That means, it's time to put them into sterile jars.

So...

7. Sterilize jars.
8. Drain pickles, reserving the brine.
9. Boil the brine. Let it cool.
10. In the jars, put fresh spices and the pickles.
11. Pour the cooled brine over the pickles.

12. Refrigerate.

They should keep for a few months. With all this live food in our fridge, we're going to need to get a new one soon to make room for everything else!


Wednesday, July 27, 2011

Mouth-watering kraut: step one

Franklin (and the chickens) wanted to eat all our cabbage!
Is it odd that I have a head-full of memories associated with sauerkraut of all things?  Whether or not it's strange, I get nostalgic for this nearly calorie-less, antioxidant-packed food. As a child, I absolutely loved sauerkraut-and-sausage night. My freshmen-year college roommate and I bought cans of Frank's kraut to eat with Ritz crackers. It was nearly guilt free. Plus, it was salty and cheap. Our floor mates didn't appreciate the smell....but I recall many "deep" conversations (mostly about boys) occurring over a package of buttery crackers and a tin can of fermented cabbage. And, I remember wanting so badly to have salty, "real" sauerkraut on my travels in Germany to find (to my disappointment) extra spices in the mix. Apparently, my perception of "real" is the Americanized version?!

My tin-can sauerkraut was divine and beyond satisfactory until Mom and Dad brought home a homemade jar from their friends' house. This duo canned a cupboard full of sauerkraut from their garden every year. When we were fortunate enough to obtain a magical Ball-jar full, I couldn't keep my fingers out. I paced back and forth from the living room to the kitchen continuously on several occasions to sneak a finger full.I found a near substitute in Bubbie's Sauerkraut, but I've nevertheless longed for the homemade-by-someone-I-know kind.  Hence, I was more than excited when we decided to finally buy a crock to make fermented foods. Today, we harvested three heads of our cabbage. We shredded those three along with two that we had saved from our CSA boxes.

We washed all five heads, cut out the cores, shredded the remaining cabbage, and got the crock ready.

Then, we put roughly three  handfuls of cabbage in the crock, added about a teaspoon of pickling salt over the top, and then repeated the process until all of the cabbage was inside the crock.
Salt/cabbage mix
 Next, we used a plate to cover and weigh down the cabbage and salt mixture. Then, we put a heavy, full glass jar on top of the plate and covered that with a damp towel.
Waiting ...
We'll be keeping an eye on this for a few weeks, I guess. Then, hopefully, everything will meld together the way it's supposed to, and we'll be processing quarts of kraut.


My mouth is honestly watering just thinking about it.


Sunday, January 30, 2011

Very Late Christmas Additions: Chutney and Coleslaw

Even though I'm a bit late (like a month!), I still want to share our Christmas menu. We experimented with two traditional sides, and the results were delicious. I have to record the recipes so that I remember to make them again!


The first: Fruity Coleslaw 

6 cups green or savoy cabbage, thinly sliced
2 cups red cabbage, thinly sliced
1/4 red onion, thinly sliced
1/4 cup sugar
3/4 cup buttermilk
1/2 cup mayonnaise
1/4 cup lemon juice
1/2 cup dried cranberries
1/2 cup pistachio nuts, chopped
2 clementines or tangerines, peeled, divided into segments and chopped
Salt and freshly ground black pepper

Instructions:
Combine the cabbage and onion in a large bowl.
Mix the sugar, buttermilk, mayonnaise and lemon juice in a small bowl until smooth. Pour the buttermilk mixture over the vegetable mixture and toss to coat thoroughly.
Fold in the cranberries, pistachios and clementines. Season with salt and pepper.
Let stand for at least 1 hour or refrigerate for up to 8 hours before serving. Taste and adjust the salt and pepper before serving. Serves 6.
— From Recipes from the Root Cellar by Andrea Chesman 
The Second: Cranberry Pear Hazelnut Chutney
2 cups fresh or frozen cranberries, picked over, and stemmed
1¼ cups sugar
3 whole cloves
1 cinnamon sticks about 3 inches long
½ teaspoon salt
2 firm Bosc or Anjou pears, peeled, halved lengthwise, cored, and cut into ½ inch dice
1 small yellow onion, diced
½ cup golden raisins
⅔ cup diced crystallized ginger
¼ cup whole hazelnuts, roasted, skins removed, and halved (see Cook’s Notes)
Instructions
In a deep 6-quart saucepan, combine the cranberries, sugar, ½ cup water, cloves, cinnamon, and salt.

Bring to a boil over medium heat, stirring frequently to dissolve the sugar. Cook until the cranberries begin
to open, about 10 to 12 minutes. Adjust the heat so the mixture simmers.
Stir in the pears, onion, raisins, and ginger. Continue to cook, stirring frequently, until thick, 10 to 15 minutes
longer.
Remove from the heat, stir in the hazelnuts, and allow the mixture to cook to room temperature.
Discard the cinnamon sticks and cloves if you can find them.
Refrigerate in tightly sealed jars for up to 3 months.

Makes about 1 quart

Cook’s Note: Try to buy shelled hazelnuts (also known as “fi lberts”) with the skins removed. To roast,
place the nuts on a rimmed baking sheet in a preheated 375 degree F oven. Roast for about 15 minutes,
until lightly browned. If they have skins, when they cool enough to handle, lay them on a clean
kitchen towel, or between several sheets of paper towels. Rub the nuts to remove most of the skins
(they never completely come off). You can substitute unsalted cashews, if necessary. Roast like hazelnuts,
until lightly browned, about 12 to 15 minutes.

--recipe from Harmony Valley Farm

The rest of our menu consisted of what we could dig out of the fridge and a turkey.
Appetizers:
Crackers and cheese, pickled beets, dip and veggies, pickled beans
Dill dip with carrots, winter radishes, and sunchokes
Sliced Daikon radishes with herbed cream cheese

Main Course
turkey
rutabaga-potato mash 
mushroom gravy
fruity coleslaw
cranberry pear hazelnut chutney
Dessert
leftover Christmas cookies
Irish Cream


Merry Belated Christmas!

Wednesday, March 17, 2010

Coleslaw with a Spicy Twist!

At this time of the year, it can be hard to create in-season, veggie-loaded dishes. It's always a pleasure to discover some new tantalizing recipe involving winter produce as the season ends and spring begins. Last night, wanting to make something with the cabbage I still had left over from my CSA box, I found a recipe for a red cabbage slaw in From Asparagus to Zucchini that kicks things up a few notches (to quote Emeril!). I modified the recipe a bit, and the slaw turned out wonderfully. Here's my version:

Red Cabbage Slaw
1 head red cabbage
1 pound carrots
1 bunch cilantro
1/3 cup lime juice
1/3 cup apple cider vinegar
2 Tbs. salt
1 Tbs. ancho chili powder
3/4 cup canola mayo (or to taste) ...not included in the original recipe, but added a nice creamy flavor

Quarter and core the red cabbage. Slice cabbage and carrots by hand or in a food processor. Chop cilantro. Toss all ingredients. Let stand one hour; rinse the slaw if so desired. Ours was really salty before the rinse, so we rinsed ours. Serve as a side dish or as a garnish (yummy with fish tacos!).